
Ever wonder why a scene shot on a sunny beach in Fiji looks exactly the same on your TV in Auckland as it did on the monitor in Los Angeles? It’s not magic. It’s color pipelines. Behind every polished film, streaming show, or commercial you see, there’s a carefully managed system that keeps colors consistent from camera to screen. This system is built on three pillars: ACES, LUTs, and delivery specs. Skip any one of them, and your colors will drift, clash, or vanish entirely.
What Is ACES and Why It’s the Backbone of Modern Color Workflows
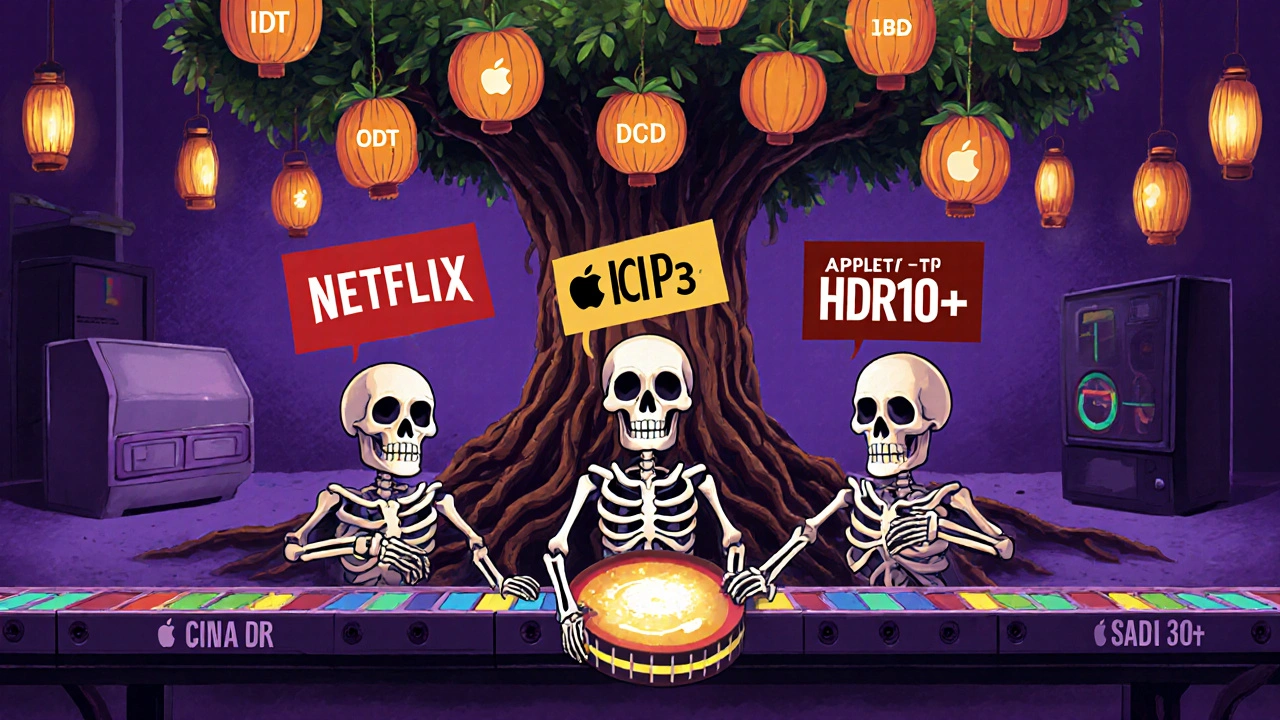
ACES stands for Academy Color Encoding System. It’s not a filter or a preset. It’s a universal language for color - designed by the Academy of Motion Picture Arts and Sciences to replace the chaos of older color systems. Before ACES, every camera had its own color profile. A RED camera’s green didn’t match a Sony’s green. A ProRes file from one lab looked different on another’s monitor. That’s why studios lost days just trying to match shots.
ACES fixes that by converting every camera’s raw data into a single, neutral, high-dynamic-range space called ACES2065-1. Think of it like translating every language into English before anyone starts talking. No matter if you shot with a Sony FX6, a Canon C70, or an ARRI Alexa 35, ACES turns it all into the same color vocabulary. That means when you grade a scene in New Zealand and send it to a studio in Tokyo, they’re seeing the exact same colors you saw.
ACES isn’t just for big studios. Even indie filmmakers using DaVinci Resolve or Adobe Premiere Pro can enable ACES workflows. It’s built right into Resolve’s color management. All you need to do is turn it on in the project settings and select an input device transform (IDT) for your camera. The system automatically handles the rest. No more guessing if your monitor is calibrated right - ACES makes sure the math stays consistent.
LUTs: The Shortcut That Can Make or Break Your Color Grade
If ACES is the language, LUTs are the phrasebooks. LUT stands for Look-Up Table. It’s a simple file that maps one set of colors to another. For example, a LUT might turn flat, desaturated camera footage into a cinematic look with deep shadows and vibrant skin tones.
LUTs are everywhere. Camera manufacturers ship them with their gear. Colorists download them from sites like FilmConvert or Red Giant. Some are free. Others cost hundreds. But here’s the catch: not all LUTs are created equal. A LUT meant for log footage won’t work on Rec.709. A LUT made for an ARRI camera might blow out highlights on a Sony.
The smartest colorists use LUTs as starting points - not final answers. They apply a camera-specific LUT to get the footage into a neutral space, then manually tweak contrast, saturation, and hue. Why? Because LUTs are static. They can’t adapt to lighting changes, skin tones, or creative intent. A LUT might make a sunset look gorgeous in one shot, but turn a person’s face orange in the next.
Pro tip: Always apply LUTs after your initial exposure and white balance adjustments. And never use a LUT as your final deliverable. It’s a tool, not a finish line.
Delivery Specifications: The Rules You Can’t Ignore
Once you’ve graded your film, you’re not done. You still have to hand it off to Netflix, Apple TV+, Amazon, or a theater chain. And each one has a strict set of rules - called delivery specifications.
Netflix requires your final master to be in DCI-P3 color space, 10-bit, with a minimum resolution of 3840x2160. Apple TV+ wants HDR10+ with specific peak brightness levels. A cinema projector might demand a 2K or 4K DCP with a specific gamma curve. Get one thing wrong, and your film gets rejected. No second chances.
These specs aren’t just technical noise. They’re about consistency. A viewer in London should see the same blue in a night scene as someone in Sydney. That’s why delivery specs are tied to color spaces like Rec.2020, DCI-P3, and Rec.709. Each one defines a different range of colors a display can show. Rec.709 is standard for HD TV. DCI-P3 is wider and used for theaters. Rec.2020 is for 4K HDR - it’s the broadest, but most displays can’t show it fully.
Here’s the real challenge: you can’t deliver one file that works everywhere. You need multiple masters. One for streaming, one for cinema, one for broadcast. That’s why colorists often build a master in ACES, then export versions tailored to each platform. ACES makes this process repeatable. Without it, you’re starting from scratch every time.
How ACES, LUTs, and Delivery Specs Work Together
Let’s say you’re shooting a short film in Wellington with a Sony FX3. You shoot in S-Gamut3.Cine/S-Log3 - a flat profile designed to capture maximum detail. Here’s how the pipeline flows:
- You import the footage into DaVinci Resolve and enable ACES. Resolve automatically applies the correct IDT for your Sony camera.
- You apply a LUT - maybe the Sony S-Gamut3.Cine to ACEScg transform - to get a baseline look that’s neutral and ready for grading.
- You grade the scene: tweak shadows, boost contrast, add a subtle teal-and-orange tone. You’re working in ACEScg, so your adjustments stay accurate across all devices.
- You export three versions: one in Rec.709 for YouTube, one in DCI-P3 for cinema, and one in HDR10 for Apple TV+.
- Each export uses a different Output Device Transform (ODT) to map your grade to the target color space.
Without ACES, you’d have to manually calibrate each export. With ACES, it’s automatic. Your grade stays intact. Your colors don’t shift. Your client doesn’t complain.
Common Mistakes and How to Avoid Them
Even experienced colorists mess this up. Here are the top three errors:
- Applying LUTs too early - If you apply a cinematic LUT before correcting exposure, you’re grading on top of a broken foundation. Always fix exposure and white balance first.
- Using the wrong ODT - Exporting a Rec.2020 master as Rec.709 will crush your highlights. Always match your ODT to your delivery spec.
- Ignoring monitor calibration - If your monitor isn’t calibrated to Rec.709 or DCI-P3, your grade looks great on your screen but terrible everywhere else. Use a colorimeter like the X-Rite i1Display Pro. Spend $300 on calibration, not $3000 on re-grades.
One filmmaker in Christchurch lost a $50,000 project because they delivered a Rec.709 file to Netflix expecting HDR. Netflix rejected it. The fix? A full re-grade and three new exports. It cost him three weeks and $12,000 in overtime.

What You Need to Start
You don’t need a Hollywood budget to use ACES. Here’s what you need to get started:
- Software: DaVinci Resolve Studio (free version supports ACES for most workflows), Adobe Premiere Pro with Lumetri Color and ACES support, or Final Cut Pro with Color Management enabled.
- Camera: Any modern camera that shoots log (S-Log, C-Log, V-Log, ARRI LogC). Even your iPhone 15 Pro can shoot Log if you use the right app.
- Monitor: A decently calibrated display. You don’t need a $10,000 panel. A 4K HDR monitor like the LG C3 or Dell UltraSharp U2723QE, calibrated monthly, will do.
- LUTs: Download free ACES-compatible LUTs from the Academy’s official site or trusted sources like FilmConvert. Avoid random LUT packs from YouTube.
Start small. Shoot a 2-minute test clip. Enable ACES. Apply a LUT. Export to Rec.709. Compare it to your original. You’ll see the difference immediately.
Why This Matters More Than Ever
With streaming platforms demanding HDR, 4K, and color consistency across 200+ countries, color pipelines are no longer optional. They’re the foundation of professional video. A poorly graded film looks amateurish. A well-managed color pipeline looks invisible - and that’s the point. The audience shouldn’t notice the color. They should just feel the mood.
Whether you’re editing a wedding video, a corporate promo, or a feature film, understanding ACES, LUTs, and delivery specs means your work will hold up - no matter where it’s shown. It’s the difference between a video that gets watched and one that gets ignored.
What’s the difference between ACES and LUTs?
ACES is a universal color management system that converts all camera data into a consistent color space. LUTs are files that apply a specific color look - like turning flat footage into a cinematic style. ACES ensures consistency; LUTs add style.
Do I need ACES if I’m just editing on my laptop?
You don’t need it for casual edits, but if you plan to share your work beyond your screen - like uploading to YouTube, Netflix, or showing in a theater - then yes. ACES prevents color shifts when your video is viewed on different devices.
Can I use LUTs without ACES?
Yes, but it’s risky. LUTs are designed for specific camera profiles and color spaces. Without ACES, you’re guessing which LUT matches your footage. You might end up with unnatural skin tones or clipped highlights. ACES makes LUTs reliable.
What’s the most common delivery spec mistake?
Delivering a Rec.709 file when the platform requires HDR (like Rec.2020 or PQ). Many editors assume their bright, saturated edit looks good - but if the platform expects HDR, your video will look dull and flat. Always check the platform’s technical guidelines before exporting.
Is ACES only for big-budget films?
No. ACES is free and built into most professional editing software. Even indie filmmakers, YouTubers, and educators use it to ensure their work looks consistent across platforms. It’s not about budget - it’s about control.