

Ever watched a stream where the visuals were crisp 4K, but the host sounded like they were speaking from inside a tin can? It’s distracting, unprofessional, and frankly, it makes you want to click away. In live streaming, audio isn’t just an accessory; it is the foundation of viewer retention. You can have the best camera in the world, but if your audio crackles, echoes, or cuts out, your audience will leave. That is why getting your microphone selection right is the single most important technical decision you will make for your channel.
Understanding Your Audio Needs Before Buying
Before you drop any money on gear, you need to understand what kind of content you are creating. A gaming streamer who shouts over explosions needs different equipment than a podcast host reading quietly into a mic. This distinction dictates everything from the microphone type to the room treatment.
- Cardioid: Picks up sound primarily from the front while rejecting noise from the sides and rear. This is the gold standard for untreated rooms because it ignores your keyboard clacking behind you or your dog barking in the other room.
- Omnidirectional: Captures sound equally from all directions. Great for round-table discussions with multiple people, but terrible if you have background noise, as it picks up everything including the hum of your PC fans.
If you are solo streaming, stick to cardioid. If you plan to interview guests regularly, consider an omnidirectional option or a pair of mics.
USB vs. XLR: The Great Debate
This is the first major fork in the road. The choice between USB and XLR isn't just about price; it's about flexibility, latency, and future-proofing.
| Feature | USB Microphone | XLR Microphone |
|---|---|---|
| Setup Complexity | Plug-and-play (direct to computer) | Requires audio interface/mixer |
| Latency | Low (good for real-time monitoring) | Depends on interface buffer settings |
| Audio Quality Ceiling | Good to Very Good | Excellent (studio grade) |
| Upgrade Path | Limited (replace whole mic) | High (swap preamps, add compressors) |
| Cost | $50 - $300 | $150 - $600+ (mic + interface) |
USB microphones, like the popular Blue Yeti or Audio-Technica ATR2100x, are perfect for beginners. They handle the analog-to-digital conversion internally, so you don't need extra hardware. However, once you buy a USB mic, you are locked into its internal preamp quality. If you want better sound later, you have to buy a whole new microphone.
XLR microphones, such as the Shure SM7B or Rode PodMic, require an external audio interface (like a Focusrite Scarlett) or a mixer. This adds cost and complexity, but it gives you control. You can upgrade your preamp later without changing the mic. For serious streamers planning to grow their brand, XLR is the smarter long-term investment.
Essential Hardware Beyond the Microphone
Buying the mic is only half the battle. How you mount it and process the signal matters just as much.
The Shock Mount and Boom Arm
Never place your microphone directly on a desk. Every keystroke, mouse click, and foot tap travels through the table and into the mic stand, creating low-frequency rumble that ruins your audio. Use a shock mount-a cradle that suspends the mic using elastic bands-to isolate it from vibrations. Pair this with a boom arm. A boom arm allows you to position the mic close to your mouth (6-8 inches away) without it being in your face, improving clarity and reducing the need for excessive gain.
The Pop Filter
"Plosives" are harsh bursts of air from letters like P and B that cause distortion. A pop filter is a simple mesh screen placed between your mouth and the mic. It costs less than $15 and eliminates these spikes instantly. Do not skip this step.
Audio Interfaces and Mixers
If you go the XLR route, you need an audio interface. For solo streamers, a 2-input interface like the Focusrite Scarlett Solo 3rd Gen is sufficient. If you have multiple microphones or instruments, consider a digital mixer like the Rodecaster Pro II. These mixers offer built-in effects, easy level management, and often include headphone outputs with zero-latency monitoring, which is critical for knowing exactly what your audience hears.
Software Processing: Making It Sound Professional
Raw audio rarely sounds good. You need to shape the signal using software plugins within your streaming software (OBS Studio, Streamlabs, vMix) or your DAW (Digital Audio Workstation). Here is the essential processing chain:
- Noise Gate: Cuts off the audio signal when you stop talking. This removes background hiss, fan noise, and keyboard clicks during silence. Set the threshold just below your voice level.
- Compression: Evens out the volume difference between your whispers and your shouts. This keeps your voice consistent and present. Aim for a ratio of 3:1 or 4:1, with a threshold that engages slightly on your normal speaking voice.
- Equalization (EQ): Shapes the tone of your voice.
- Cut frequencies below 80Hz to remove rumble.
- Boost around 2-5kHz slightly to add "presence" and clarity.
- Cut muddy frequencies around 200-400Hz if your voice sounds boxy.
- Limiter: The final safety net. It prevents your audio from peaking above 0dB, which causes painful digital clipping. Set the ceiling to -1dB or -2dB.
In OBS Studio, you can apply these filters directly to your audio source. Right-click the mic source, select "Filters," and add each effect in order. Start with conservative settings and adjust based on your specific voice and room.
Room Acoustics: The Free Upgrade
You can spend thousands on gear, but if your room sounds like a bathroom, it won't matter. Hard, flat surfaces reflect sound waves, creating reverb and echo. To fix this, you need to absorb those reflections.
You don't need professional acoustic foam panels, though they help. Simple household items work surprisingly well:
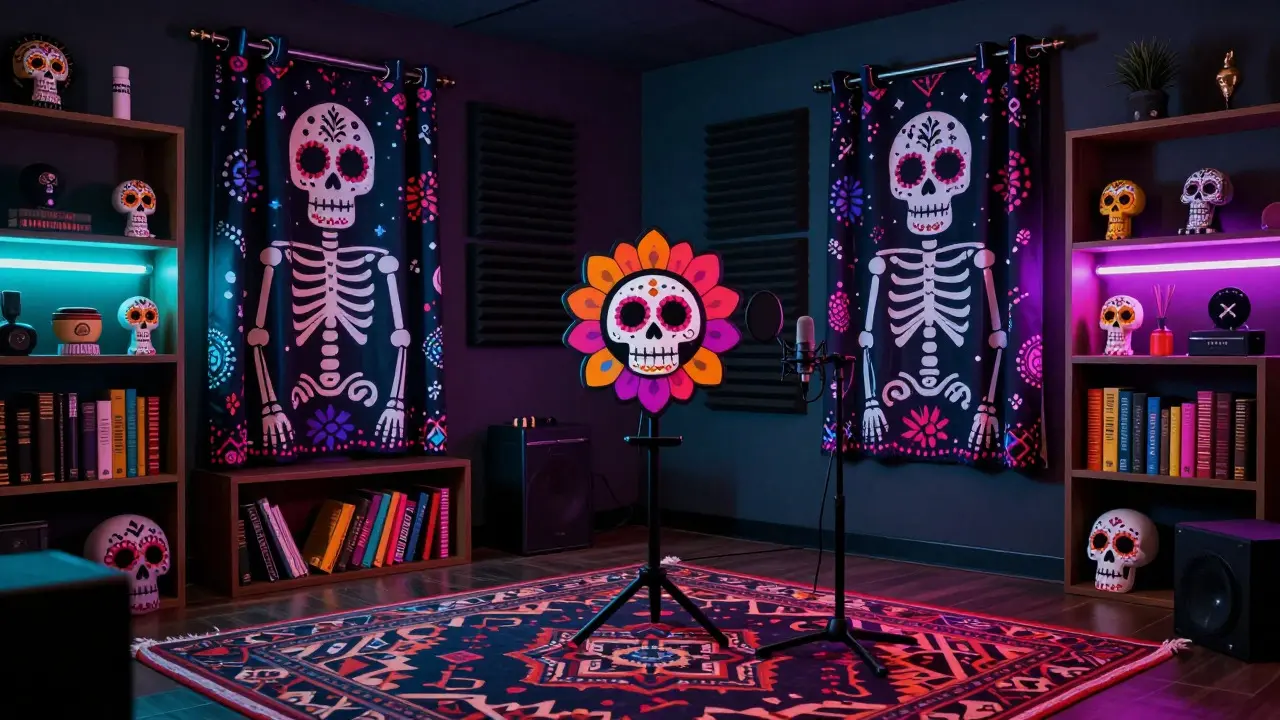
- Heavy Curtains: Hang thick curtains over windows to dampen reflections.
- Rugs and Carpets: Cover hard floors to reduce bounce from below.
- Bookshelves: Uneven surfaces scatter sound waves, breaking up standing waves.
- Moving Blankets: Cheaply available at hardware stores, these can be hung on walls behind your mic to create a dead zone.
The goal is to make your recording space feel "dead" or dry. When you clap your hands, you should hear a sharp snap, not a lingering echo. Test your room before you start streaming. Record yourself speaking normally and listen back. If it sounds distant or hollow, add more absorption.
Troubleshooting Common Audio Issues
Even with the right setup, problems arise. Here is how to diagnose and fix them quickly.
Issue: Background Hiss.
Cause: Gain set too high or poor room acoustics.
Fix: Lower the input gain on your interface or mic until the meter sits around -12dB to -6dB when speaking normally. Then use a Noise Gate to cut the remaining hiss.
Issue: Cracking or Distortion.
Cause: Signal peaking above 0dB.
Fix: Check your limiter settings. Ensure your ceiling is set correctly. Also, check if your sample rate matches across all devices (usually 44.1kHz or 48kHz).
Issue: Echo or Reverb.
Cause: Room reflections.
Fix: Move closer to the mic (inverse square law reduces room noise relative to voice). Add soft furnishings to the room. Wear headphones to prevent speaker bleed into the mic.
What is the best microphone for live streaming under $100?
For under $100, the Audio-Technica ATR2100x-USB is an excellent choice. It offers both USB and XLR connectivity, giving you flexibility to upgrade later. Another strong contender is the Samson Q2U, which provides similar dual-connectivity and a cardioid polar pattern ideal for isolating your voice from background noise.
Do I really need an audio interface for streaming?
Not initially. If you are starting out, a high-quality USB microphone is sufficient and easier to set up. However, if you plan to expand to multiple microphones, add musical instruments, or seek broadcast-quality audio, an audio interface becomes necessary to manage inputs and provide higher-quality preamplification.
How close should my mouth be to the microphone?
Ideally, keep your mouth 6 to 8 inches away from the microphone capsule. This distance provides a clear, intimate sound while minimizing plosives and room noise. Using a boom arm helps maintain this consistent distance without obstructing your view or movement.
Can I use my headset microphone for professional streaming?
While convenient, headset microphones generally produce lower audio quality compared to dedicated desktop mics. They pick up more body noise and lack the dynamic range of studio-grade condensers or dynamics. For occasional use, they are fine, but for a professional look and sound, invest in a separate microphone with a boom arm.
What sample rate should I use for streaming audio?
Use 48kHz at 24-bit depth for your audio interface and streaming software settings. This is the standard for video production and ensures compatibility with most platforms like Twitch and YouTube. Avoid 44.1kHz if possible, as some streaming engines may resample it, causing slight latency issues.