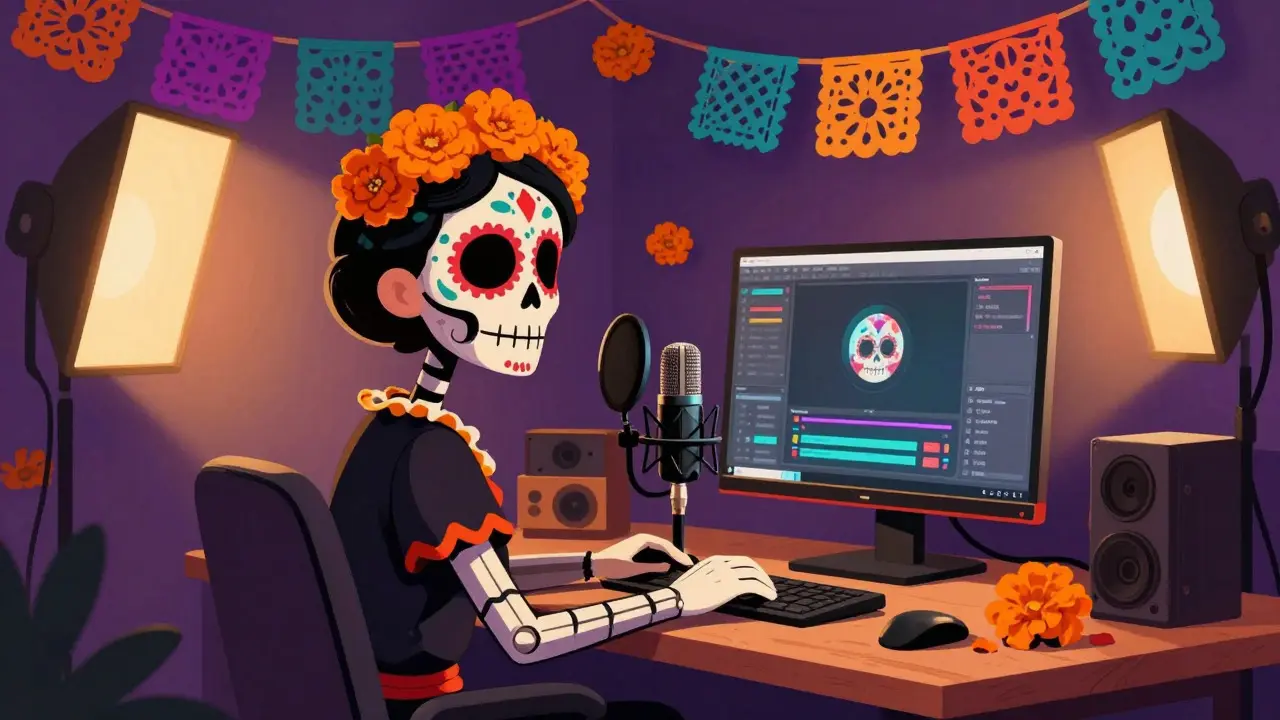
There is nothing quite like the rush of going live. The countdown timer hits zero, your status flips to YouTube Live, and suddenly you have an audience waiting for you. But if your audio crackles or your video freezes within the first minute, that excitement turns into panic fast. Setting up a professional stream isn't about buying the most expensive camera; it is about getting the fundamentals right so technology stays out of the way.
This guide walks you through building a reliable streaming setup from scratch. Whether you are broadcasting from a bedroom studio in Auckland or a mobile location, these steps will help you deliver clear, stable video that keeps viewers engaged.
Understanding Your Internet Connection
Before you buy any hardware, check your internet connection. This is the single biggest point of failure for new streamers. You might have a plan that advertises "100 Mbps," but that number usually refers to download speed. For live streaming, upload speed is king.
YouTube recommends a minimum upload speed of 3 Mbps for standard definition, but that leaves no room for error. To stream in high definition (1080p) with a clean picture, you need at least 6 to 8 Mbps of consistent upload bandwidth. If you share your home network with family members downloading files or gaming, those speeds drop instantly.
- Use Ethernet: Wi-Fi is convenient, but it is unstable. A wired Ethernet connection eliminates packet loss and jitter, which cause buffering.
- Test Real-World Speeds: Use tools like Speedtest.net or Fast.com. Run the test multiple times to see your average, not just your peak.
- Close Background Apps: Pause cloud backups, large downloads, and other video calls while streaming.
If your upload speed is below 5 Mbps, consider lowering your resolution to 720p or reducing your frame rate to 30fps. It is better to have a smooth, lower-quality stream than a choppy, high-definition one.
Choosing the Right Hardware
You do not need a cinema camera to start. In fact, many successful creators begin with equipment they already own. However, as you grow, upgrading specific components makes a noticeable difference in production value.
Camera Options
Your face is the focal point of your stream. A built-in laptop webcam often looks grainy and flat. Here are three common paths for video input:
- Webcams: Devices like the Logitech Brio or C920 offer plug-and-play simplicity. They handle autofocus and exposure automatically, which is great for beginners who want to focus on content rather than technical settings.
- Mirrorless Cameras: Using a DSLR or mirrorless camera via HDMI provides superior image quality, shallow depth of field, and better low-light performance. You will need a capture card to connect this to your computer.
- Smartphones: Modern phones have excellent cameras. Apps like Camo or EpocCam allow you to use your iPhone or Android phone as a high-quality webcam over USB or Wi-Fi.
Audio Equipment
Viewers will forgive mediocre video, but they will click away from bad audio immediately. Poor sound is the number one reason people leave a live stream.
Avoid using your laptop's built-in microphone. Instead, invest in a dedicated microphone. A USB condenser mic, such as the Blue Yeti or Audio-Technica AT2020USB+, connects directly to your computer and delivers clear, crisp voice audio. If you prefer more control, an XLR microphone paired with an audio interface offers professional-grade sound but requires more setup knowledge.
Position your microphone close to your mouth-about 6 inches away-and slightly off-axis to reduce plosive sounds (like hard 'P' and 'B' sounds). Always use headphones while streaming to monitor your audio levels and avoid echo feedback.
Setting Up Streaming Software
To broadcast to YouTube, you need encoding software. This program takes your video and audio inputs, combines them with overlays and graphics, and sends the data to YouTube's servers.
OBS Studio is the most popular free and open-source streaming software available for Windows, Mac, and Linux. It is powerful, customizable, and widely supported by tutorials online. While it has a learning curve, it is the industry standard for a reason.
Another option is Streamlabs Desktop is a user-friendly alternative based on OBS that includes built-in themes, alerts, and widgets. It simplifies the setup process for beginners but can be heavier on system resources.
Configuring OBS for YouTube
Once installed, you need to configure OBS correctly. Go to Settings > Output. Select "Advanced" output mode for more control.
- Encoder: If you have an NVIDIA GPU, use NVENC H.264 (new). For AMD, use AMD HW H.264. Intel users can use QuickSync. These hardware encoders free up your CPU for other tasks.
- Bitrate: Match this to your upload speed. For 1080p at 60fps, aim for 6000 Kbps. For 720p at 60fps, 4500 Kbps is sufficient.
- Keyframe Interval: Set this to 2 seconds. YouTube requires this setting for proper playback.
- Resolution: Set your Base Canvas Resolution to match your camera (e.g., 1920x1080) and your Output Scaled Resolution to your target stream quality.
In the Stream tab, select "YouTube" as your service. Click "Use Stream Key Manager" and sign in to your Google account. This securely links your OBS instance to your channel without exposing your private key.
Lighting and Composition
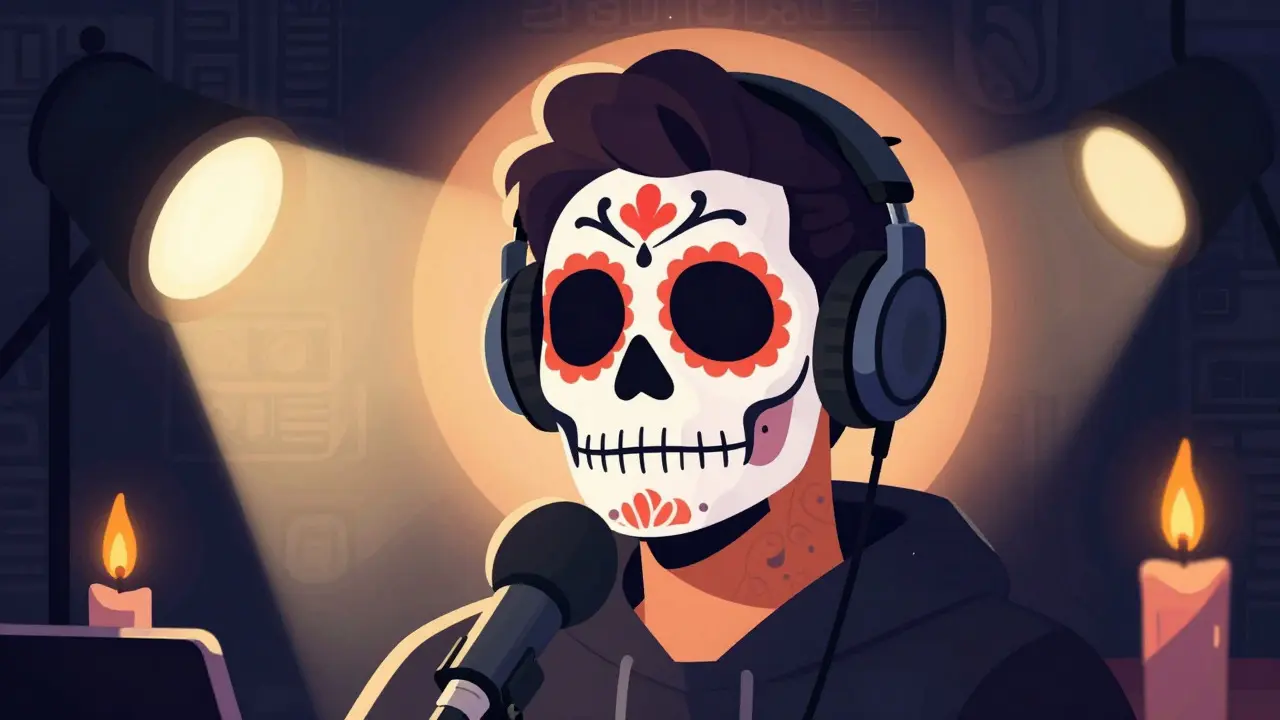
Even a $2,000 camera looks terrible in poor light. Lighting is cheaper and more impactful than you think. The goal is to eliminate shadows on your face and separate yourself from the background.
The simplest effective setup is the three-point lighting technique:
- Key Light: The main light source, placed at a 45-degree angle to your face. This should be your brightest light.
- Fill Light: Placed on the opposite side of the key light, but dimmer. It softens harsh shadows created by the key light.
- Back Light (Hair Light): Positioned behind you, shining on the back of your head and shoulders. This creates depth and separates you from the wall behind you.
If budget is tight, start with one ring light or softbox placed in front of you. Ensure the light is above eye level and angled down slightly. Natural window light works well too, but it changes throughout the day, making consistency difficult.
Creating Engaging Overlays and Alerts
Your stream layout tells viewers where to look. Keep it clean and uncluttered. Essential elements include:
- Video Source: Your camera feed, positioned prominently.
- Gameplay or Screen Share: If applicable, this takes up the majority of the screen.
- Chat Box: Display recent messages to encourage interaction. Place it in a corner where it doesn't obscure important action.
- Alerts:: Visual notifications for new subscribers, followers, or donations. Keep these brief so they don't become annoying.
Tools like StreamElements or Streamelements allow you to create custom overlays and manage alerts easily. Import these as browser sources in OBS. Remember, less is often more. Too many moving graphics can distract from your personality and content.
The Pre-Stream Checklist
Going live is stressful enough without worrying about technical glitches. Create a routine before you hit the "Go Live" button.
- Check Audio Levels: Speak normally and ensure your meter peaks between -12dB and -6dB. Avoid hitting 0dB (red), which causes distortion.
- Verify Video Feed: Look at your preview. Is the focus sharp? Is the exposure correct?
- Test Chat Integration: Send a test message to ensure chat appears on screen.
- Prepare Content: Have your opening remarks ready. What will you talk about in the first five minutes?
- Start Recording Locally: Enable local recording in OBS. If the live stream fails, you still have a copy to upload later as a VOD (Video on Demand).
Managing Low Latency and Interaction
YouTube offers different latency modes. Standard latency provides the best reliability and quality but introduces a delay of 20-40 seconds. This means when someone comments, you won't see it until nearly half a minute later.
For real-time interaction, enable Low Latency Mode in YouTube Studio before going live. This reduces the delay to 3-5 seconds. However, it requires a very stable internet connection. If your upload speed fluctuates, the stream may buffer or disconnect. Test this feature thoroughly before relying on it for interactive streams like Q&A sessions.
Engage with your audience by reading chat aloud. Acknowledge new viewers by name. Ask questions to prompt responses. Building a community happens during these live interactions, not just after the stream ends.

Troubleshooting Common Issues
Even with perfect setup, problems happen. Here is how to fix the most common ones quickly.
| Issue | Possible Cause | Solution |
|---|---|---|
| Pixelated Video | Bitrate too high for connection | Lower bitrate in OBS settings or switch to 720p |
| Audio Crackling | CPU overload or driver conflict | Update audio drivers, lower sample rate to 44.1kHz or 48kHz |
| Black Screen | HDMI handshake issue | Unplug and replug HDMI cable, restart capture card |
| High Latency | Standard mode enabled | Switch to Low Latency mode in YouTube Studio |
If your stream drops entirely, check your router lights. If the internet is fine, restart OBS. If the problem persists, try a different browser to rule out platform-specific issues.
Post-Stream Optimization
Your work isn't done when you end the broadcast. YouTube automatically saves your live stream as a VOD. Edit this recording to remove downtime, bloopers, or silent periods. Upload the edited version as a regular video to maximize reach. Add chapters, a compelling thumbnail, and relevant tags to help search engines find your content.
Analyze your stream metrics in YouTube Studio. Look at viewer retention graphs to see where people dropped off. Did you lose interest during a long monologue? Was the audio too quiet? Use this data to improve your next stream. Consistency and improvement are key to growing your audience.
Final Thoughts on Building Your Presence
Starting a YouTube Live channel is a marathon, not a sprint. Your first few streams might feel awkward, and the viewer count might be low. That is normal. Focus on providing value, whether through entertainment, education, or community building. As you refine your setup and gain confidence, your audience will grow.
Remember, the best gear is the gear you know how to use. Master the basics of audio, lighting, and encoding before chasing the latest trends. Engage authentically with your viewers, and let your personality shine through the technology. With patience and practice, you will build a loyal community around your live content.
What is the best bitrate for YouTube Live?
For 1080p at 60fps, a bitrate of 6000 Kbps is recommended. For 720p at 60fps, 4500 Kbps is sufficient. Ensure your upload speed is at least 1.5 times your chosen bitrate to maintain stability.
Can I stream YouTube Live from my phone?
Yes, you can use the official YouTube mobile app to go live directly from your smartphone. This is ideal for mobile vlogging or events where carrying a computer is impractical. However, you have limited control over overlays and alerts compared to desktop software.
Do I need a capture card for my camera?
If you are using a DSLR or mirrorless camera with an HDMI output, yes, you need a capture card to convert the analog signal to digital for your computer. Webcams and smartphones connected via USB do not require a separate capture card.
How do I monetize my YouTube Live streams?
To monetize live streams, you must join the YouTube Partner Program (YPP). Once eligible, you can enable Super Chats, Channel Memberships, and ads during your broadcasts. Requirements include having 1,000 subscribers and either 4,000 public watch hours in the last 12 months or 10 million Shorts views in 90 days.
Why is there a delay between my speech and the live stream?
This delay, called latency, occurs because video data needs time to encode, upload, process, and distribute to viewers. Standard latency is 20-40 seconds. Enabling Low Latency Mode in YouTube Studio can reduce this to 3-5 seconds, but it requires a very stable internet connection.
Is OBS Studio free to use?
Yes, OBS Studio is completely free and open-source. There are no hidden fees or premium versions. It supports Windows, macOS, and Linux, making it accessible to creators on any budget.
How often should I stream to grow my channel?
Consistency is more important than frequency. Start with a schedule you can sustain, such as once or twice a week. Promote your upcoming streams on social media and YouTube Community posts to build anticipation. Regular viewers appreciate knowing when to expect new content.
What should I do if my stream gets cut off?
First, check your internet connection. If it is stable, restart OBS. If the issue persists, try restarting your router. After resolving the issue, you can resume your stream. YouTube will save the interrupted segment as a VOD, which you can edit and re-upload if needed.