Setting up a live stream isn’t just about hitting go on your software. If your audio sounds like it’s coming from a tin can, your video looks like a blurry snapshot, or your face is half-shadowed, viewers won’t stick around. The truth is, you don’t need a studio budget to look professional-but you do need the right gear. Here’s exactly what you need to get started, broken down by camera, microphone, and lighting-with real options that actually work.
Camera: It’s Not Just About Resolution
A lot of people think 4K is a must. It’s not. Most viewers stream on phones or laptops. What they notice isn’t resolution-it’s focus, frame rate, and how steady the image looks. A 1080p camera at 60 frames per second looks smoother and more professional than a shaky 4K at 30 fps.
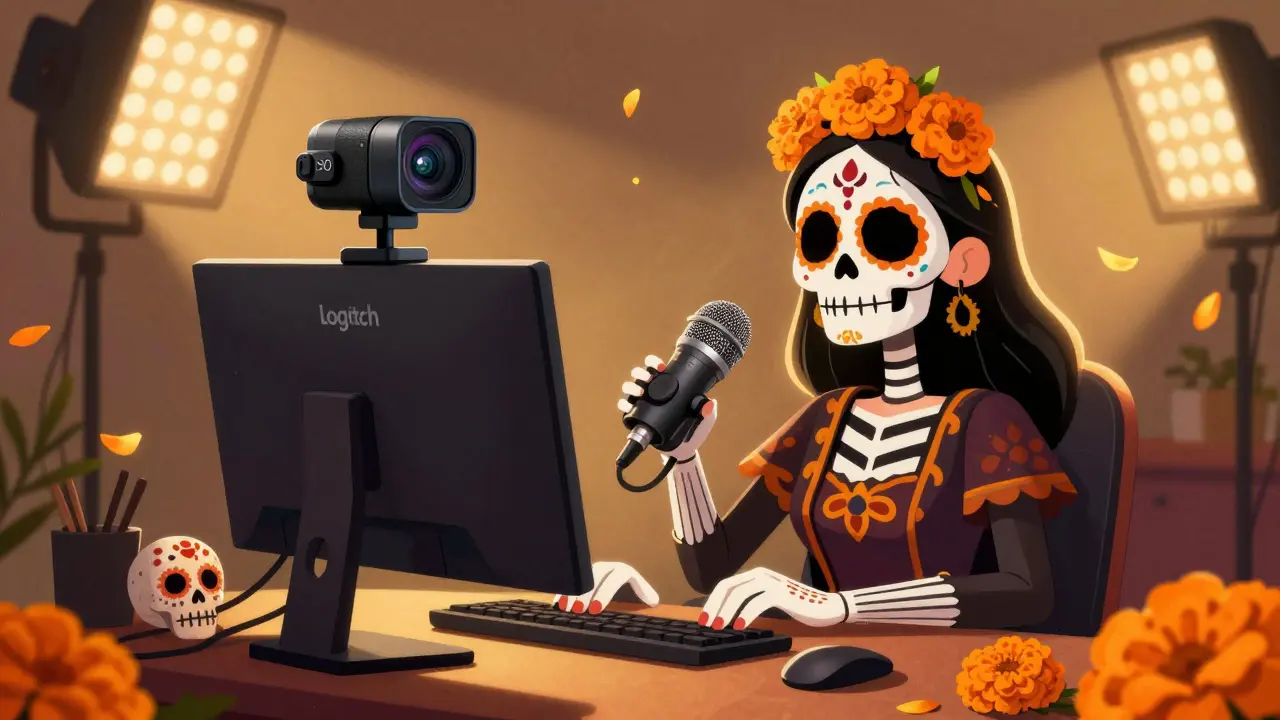
The Logitech C920 is still the go-to for beginners. It’s affordable, plugs straight into USB, and gives clean 1080p video with decent low-light performance. If you’re serious, the Canon EOS M50 Mark II is a game-changer. It’s a mirrorless camera with flip-out screen, 4K video, and excellent autofocus. You can pair it with a cheap HDMI capture card to feed the signal into your computer.
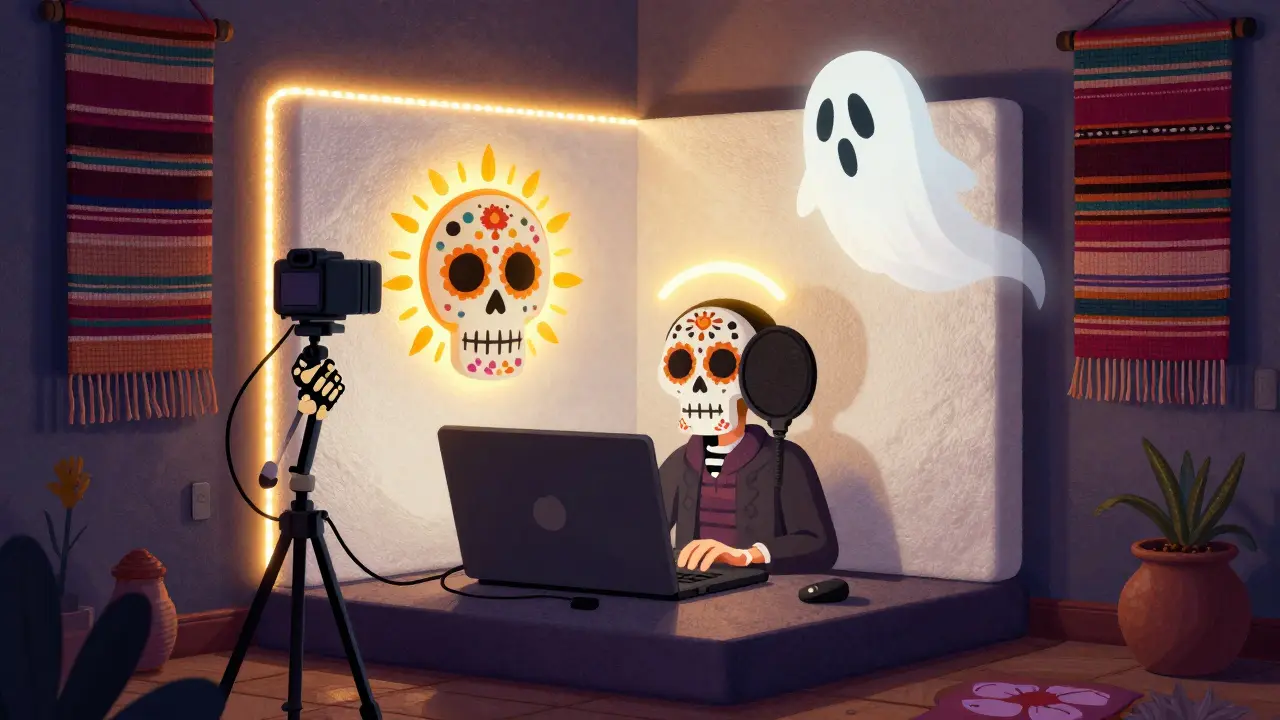
Don’t forget the tripod. Even a $20 one makes a huge difference. Handheld shots look amateur. A stable, eye-level angle feels intentional. If you’re streaming from a desk, get a gooseneck mount for your webcam-it lets you position the camera right above your monitor, so you’re looking straight into the lens.
Microphone: Your Voice Is Your Brand
Bad audio kills streams faster than bad video. People will forgive a slightly dark room. They won’t forgive muffled, echoey, or distorted sound.
The Audio-Technica AT2020 is a classic. It’s a condenser mic that needs a USB interface or audio mixer, but it captures rich, detailed voice. If you want plug-and-play, the Elgato Wave:3 is designed for streamers. It has built-in monitoring, noise suppression, and a headphone jack so you can hear yourself in real time. No lag. No guesswork.
Placement matters. Don’t put the mic on your desk. It picks up keyboard taps, chair creaks, and fan noise. Use a boom arm or a shock mount. Position it about 6 inches from your mouth, slightly off to the side. This avoids plosives (those loud ‘P’ and ‘B’ sounds). And always use a pop filter. It’s a $5 piece of mesh that cuts out harsh breath sounds.
If you’re on a budget, the HyperX QuadCast is a solid USB mic with multiple pickup patterns. It’s not studio-grade, but it’s way better than your laptop mic.
Lighting: The Invisible Key to Professional Look
Lighting is the secret weapon most streamers ignore. Even the best camera looks bad in poor light. You don’t need Hollywood lights-just three basic ones.
Start with a key light. This is your main source. A simple LED panel like the Neewer 660 works wonders. Place it at a 45-degree angle in front of you, slightly above eye level. It should illuminate your face evenly without casting harsh shadows.
Add a fill light on the opposite side. This softens shadows created by the key light. You can use a cheaper LED bulb or even a white foam board to reflect light back. The goal is balance, not brightness.
Finally, a backlight or rim light separates you from the background. A small LED strip behind you, pointing at your shoulders, creates a subtle glow. It makes you pop visually and reduces the ‘floating head’ effect.
Color temperature matters too. Aim for 5000K-5600K. That’s daylight white. Avoid warm yellow lights unless you’re going for a cozy vibe. Consistent lighting = consistent viewer experience.

What You Don’t Need (And What You Should Skip)
You don’t need a green screen unless you’re doing fancy overlays. A plain wall works fine if it’s clean and not too busy.
You don’t need a $1,000 audio interface. The Elgato Wave:3 or even a $50 USB mixer like the Behringer UCA222 will do the job.
And skip those flashy ring lights. They create unnatural shadows around the eyes and make skin look oily. Stick to soft, diffused lighting.
Basic Setup Flow
Here’s how to put it all together:
- Position your camera at eye level, 1-2 feet away.
- Mount your microphone on a boom arm, 6 inches from your mouth, slightly off-center.
- Place your key light in front, 45 degrees, slightly above eye level.
- Add a fill light or reflector on the other side.
- Place a small backlight behind you to create depth.
- Test your setup with a 5-minute recording. Watch for shadows, echo, or pixelation.
- Adjust lighting first, then mic levels, then camera settings.
Real-World Tip: Test Before You Go Live
Don’t wait until you’re streaming to 50 people to find out your mic is picking up your AC. Do a 10-minute test stream with a friend. Ask them: Can you hear me clearly? Do I look washed out? Is there any background noise? Be specific. Most streamers skip this step-and regret it.
Also, check your internet upload speed. You need at least 5 Mbps for 1080p60. Use speedtest.net to test. If you’re under 3 Mbps, you’ll buffer constantly. No gear fixes slow internet.
Final Thoughts
You don’t need the most expensive gear. You need gear that works together. A $150 camera, a $100 mic, and $80 in lighting will outperform a $2,000 setup that’s mismatched or poorly arranged.
Start simple. Master one thing at a time. Get your voice clear. Make sure your face is well lit. Keep the camera steady. That’s 80% of what makes a stream look professional. The rest? That’s your personality-and that’s the one thing no gear can replace.
Do I need a green screen for live streaming?
No, you don’t. A green screen is only useful if you want to replace your background with graphics, images, or virtual sets. For most beginners, a clean, solid-colored wall works better. It’s simpler, cheaper, and avoids the hassle of lighting the green screen evenly-something that’s easy to mess up and ruins the effect if done poorly.
Can I use my smartphone as a streaming camera?
Yes, but it’s not ideal for long-term use. Modern phones have great cameras, but they overheat during long streams, lack manual controls, and don’t connect easily to streaming software. You’d need a USB-C to HDMI adapter and a capture card. It’s a workaround, not a solution. For serious streaming, a dedicated camera or webcam is more reliable.
What’s the best lighting setup for a small room?
Use one key LED panel in front, angled slightly down. Add a reflector-a white poster board or foam core-on the side opposite the light. Place a small LED strip behind you to create separation. Keep the room dark. No windows or bright lamps behind you. This setup fits in rooms as small as 8x8 feet and looks professional.
Should I get a USB mic or an XLR mic?
Start with USB. It’s plug-and-play and works directly with your computer. XLR mics (like the AT2020) sound better but need an audio interface and more setup. If you’re just starting out, USB mics like the Elgato Wave:3 or HyperX QuadCast give you great quality without the complexity. Upgrade to XLR later when you’re ready to invest in a mixer and better control.
How important is room acoustics for streaming?
Very. Hard surfaces like tile floors, glass windows, and bare walls create echo. Even a few rugs, curtains, or foam panels can reduce reverb dramatically. If your voice sounds like you’re in a bathroom, you need to absorb sound. Hang a thick blanket behind you, lay down a rug, or stick up acoustic foam panels. It’s cheap and makes your mic sound 10x clearer.