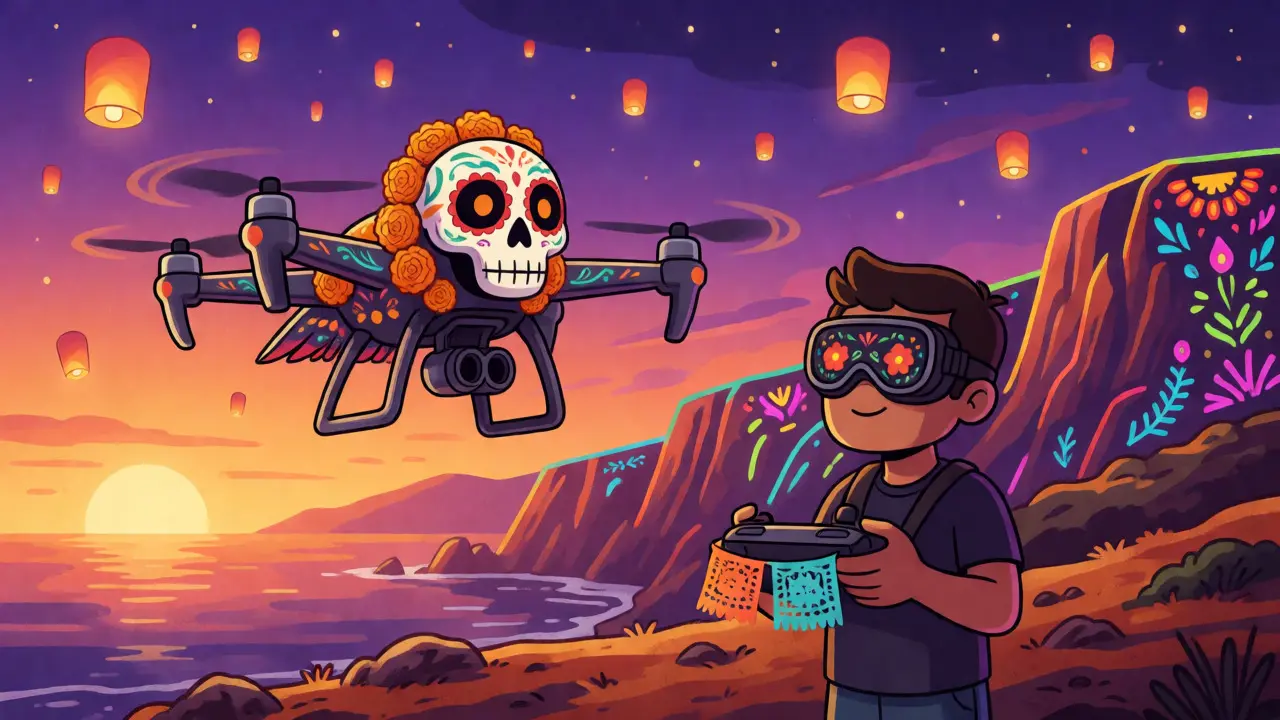
You’ve seen them everywhere. The sweeping shot over a jagged coastline, the fast-paced chase through a dense forest, or that eerie, floating sensation as the camera drifts away from a lonely house on a hill. Drone cinematography has completely rewritten the visual language of modern film. It’s no longer just a gimmick; it’s a fundamental tool for storytelling. But here is the truth most beginners miss: buying a drone doesn’t make you a cinematographer. Anyone can fly a quadcopter. Making it look like cinema requires understanding light, movement, and narrative intent.
If you are trying to break into this niche, or if you’re an established filmmaker looking to add aerials to your toolkit, you need more than just a joystick. You need a strategy. This guide cuts through the noise to show you exactly how to capture footage that feels intentional, not accidental. We’ll cover the gear that actually matters, the flight techniques that create tension or peace, and the post-production tricks that separate amateur clips from professional cinema.
Choosing Your Aerial Rig
Let’s talk hardware. The market is flooded with options, but for serious filmmaking, you generally fall into one of two camps: GPS-stabilized drones or First-Person View (FPV) rigs. Each serves a different narrative purpose.
GPS-stabilized drones like the DJI Mavic series or the DJI Inspire are workhorses. They hover perfectly still, follow waypoints automatically, and prioritize stability above all else. These are your go-to tools for establishing shots, slow reveals, and tracking subjects smoothly. If you need a reliable platform that won’t crash because of a slight wind gust, this is it. However, they can feel sterile if used exclusively. The perfect hover can sometimes lack the human element of imperfection that makes footage feel real.
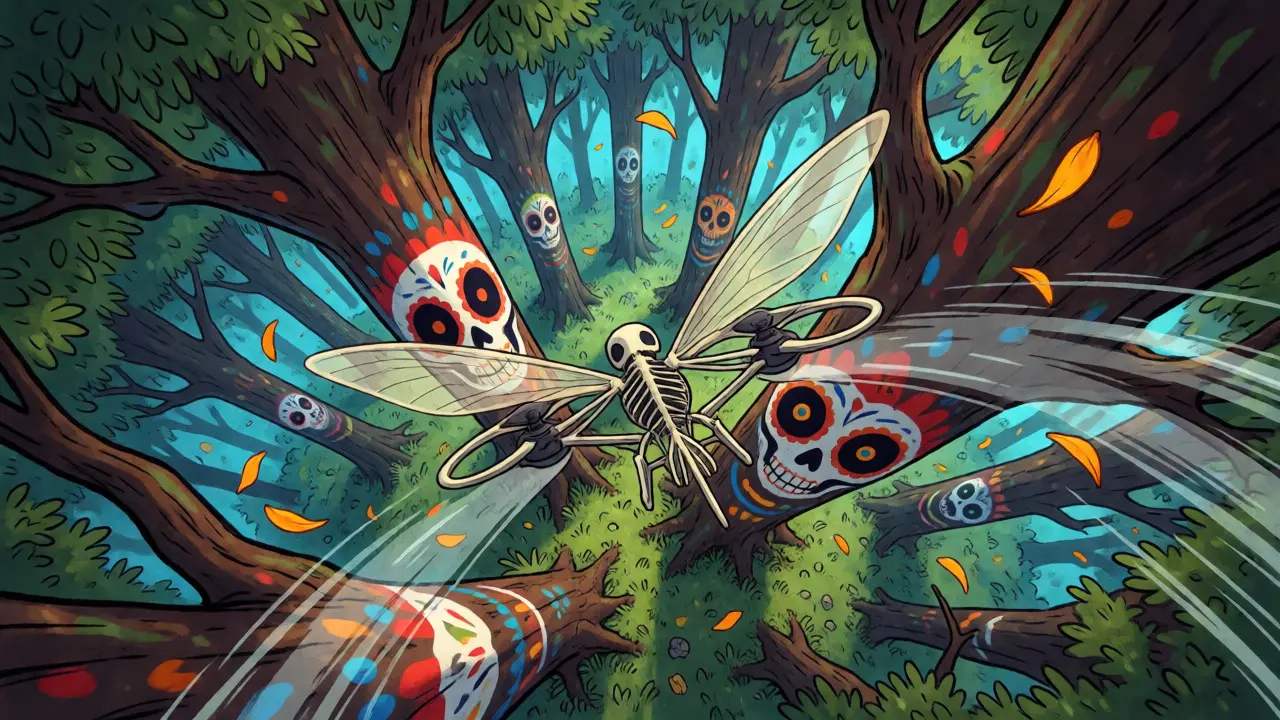
On the other end of the spectrum sits FPV drones. Unlike their GPS counterparts, FPV rigs rely on pilot skill rather than computer stabilization. You wear goggles and see what the drone sees, flying manually at high speeds. This allows for aggressive maneuvers-threading needles between trees, diving down cliffs, or performing rapid yaw rotations. FPV cinematography creates visceral energy, making the viewer feel like they are physically moving through space. It’s harder to master, but the payoff is unique perspective that a stabilized drone simply cannot replicate.
| Feature | GPS-Stabilized (e.g., DJI Mavic) | FPV Freestyle/Racing (e.g., Custom Build) |
|---|---|---|
| Movement Style | Smooth, predictable, robotic precision | Dynamic, aggressive, human-driven |
| Learning Curve | Low to Moderate | High (requires simulator practice) |
| Battery Life | 30-45 minutes per charge | 4-8 minutes per battery pack |
| Best For | Real estate, weddings, landscape, interviews | Action sports, music videos, immersive POV |
| Cost Entry Point | $700 - $1,500 USD | $400 (kit) + Goggles/Controller ($500+) |
Mastering Camera Settings for Motion
Here is where most drone pilots fail. They leave their camera on "Auto" mode. Auto exposure adjusts brightness mid-flight, causing distracting flickering when you pass over shadows or clouds. To get cinematic results, you must take manual control of three critical settings: shutter speed, ISO, and frame rate.
The golden rule of video is the 180-degree shutter rule. Your shutter speed should be double your frame rate. If you shoot at 24 frames per second (fps), which is the standard for cinematic film, your shutter speed needs to be 1/50th of a second. If you shoot at 60 fps for slow motion, your shutter speed becomes 1/120th. Why does this matter? It controls motion blur. Too fast a shutter makes movement look choppy and unnatural, like a news broadcast. Too slow, and everything looks smeared. Adhering to this ratio ensures natural-looking motion that the human eye expects.
But there’s a catch. Drones don’t have variable aperture lenses like traditional cameras. If you set a shutter speed of 1/50th during bright daylight, too much light will hit the sensor, blowing out your highlights. You can’t close the lens iris to fix this. Instead, you need ND filters (Neutral Density filters). Think of them as sunglasses for your drone’s lens. They reduce light intake without changing color balance, allowing you to maintain that crucial 180-degree shutter angle even at noon. Investing in a variable ND filter kit is non-negotiable for serious aerial videography.
Keep your ISO as low as possible, ideally at 100 or 200. Higher ISO introduces digital noise, which looks terrible when you scale up the footage for 4K screens. Only raise the ISO if you are shooting at dawn or dusk and cannot compensate with shutter speed alone.
Flight Techniques That Tell Stories
Now that your camera is set, let’s talk about movement. Every move you make should answer the question: "Why is the camera moving?" Random drifting is just noise. Intentional movement guides the audience’s eye and evokes emotion.
The Reveal Shot is a classic for a reason. Start with the camera pointing straight down at the ground or a subject, then slowly tilt up while pulling back. This transitions the viewer from a detail-focused view to a grander context. It works wonders for introducing a location or revealing the scale of a landscape. Keep the movement slow and steady. Rushed reveals feel panicked.
The Parallax Effect occurs when you orbit around a static subject while keeping the camera focused on it. As you circle, the background shifts relative to the foreground, creating a sense of depth and dimensionality. This is far more engaging than a simple pan. To execute this smoothly, use the tripod mode or cinematic mode on your drone to dampen acceleration. If you are using an FPV rig, you need precise throttle and yaw coordination to keep the subject centered while the world spins behind it.
Don’t underestimate the power of the Fly-Through. Flying under bridges, through windows, or between tree branches adds dynamism. It breaks the barrier between the viewer and the scene. However, safety first. Always scout the location beforehand. Check for power lines, birds, and unexpected obstacles. A crash isn’t just expensive; it ruins the momentum of your shoot day.
Navigating Legalities and Safety
Flying a drone isn’t just about physics; it’s about law. Regulations vary wildly by country, but the core principles remain similar. In New Zealand, where I live, the Civil Aviation Authority (CAA) mandates strict rules. Generally, you must stay below 120 meters (400 feet) altitude unless you have specific permission. You must keep the drone within your Visual Line of Sight (VLOS). Never fly over people who aren’t part of your crew, and always yield to manned aircraft.
In the United States, the FAA requires registration for drones over 250 grams and a Part 107 Remote Pilot Certificate for commercial work. Europe follows EASA regulations, which categorize operations based on risk. Ignoring these laws can result in hefty fines or, worse, liability issues if your drone drops onto a bystander.
Weather is another silent killer. Wind speeds above 20 mph (32 km/h) make stable hovering difficult for smaller drones. Rain and moisture can short-circuit electronics. Always check the weather forecast before launching. If the clouds are low, you might lose signal connection. If the sun is setting, watch out for glare blinding your sensors.
Post-Production Polish
Your job isn’t done when you land the drone. Raw aerial footage often looks flat and desaturated compared to ground-level shots. This is because the sky reflects UV light, washing out colors. Color grading is essential to restore contrast and mood.
Start by correcting white balance. Aerial shots taken at sunset often have a strong orange cast. Adjust your temperature sliders to neutralize this unless you want that warm glow intentionally. Next, boost the contrast slightly to make the horizon pop. Aerials benefit from a bit more clarity and sharpening than typical footage, but don’t overdo it. Too much sharpening creates halos around edges, especially against the sky.
Stabilization in post-production can save shaky clips. Software like Adobe Premiere Pro’s Warp Stabilizer or DaVinci Resolve’s Fusion page can smooth out minor jitters. However, use this sparingly. Heavy stabilization can introduce "jello effect," where the image wobbles unnaturally. It’s better to fly smoothly in the first place.
Sound design is the unsung hero of drone footage. Aerial shots are inherently quiet visually, so audio carries the emotional weight. Add ambient sounds-wind rustling leaves, distant city traffic, ocean waves-to ground the viewer. Avoid adding dramatic orchestral music unless it fits the tone. Sometimes, the raw sound of the drone’s propellers, mixed subtly, adds authenticity.
Common Pitfalls to Avoid
Even experienced pilots make mistakes. Here are the top three things that scream "amateur":
- Flying Too Fast: Speed kills cinematic quality. Unless you are chasing a car or doing an FPV dive, slow down. Most stunning aerials are shot at half-speed or slower. If it’s too fast, shoot at 60fps and slow it down in post.
- Ignoring Composition Rules: Just because you’re in the air doesn’t mean you ignore the rule of thirds. Place the horizon on the top or bottom third of the frame, not dead center. Use leading lines-roads, rivers, fences-to draw the eye toward the subject.
- Lack of Narrative Purpose: Don’t shoot an aerial just because you can. Ask yourself: Does this shot advance the story? If you cut it, does the sequence still make sense? If yes, maybe you don’t need it.
Drone cinematography is a blend of technical skill and artistic vision. It demands patience, preparation, and a deep respect for the environment you’re capturing. By mastering your gear, understanding light, and respecting the rules, you can transform simple flights into compelling cinematic moments.
Do I need a license to fly a drone for filmmaking?
It depends on your location and whether the flight is recreational or commercial. In the US, commercial operators need a Part 107 certificate. In New Zealand, you need a Part 101 certification for commercial work. Recreational flyers usually have looser restrictions but must still follow basic safety rules like staying under 120m and avoiding airports.
What is the best drone for beginners in cinematography?
The DJI Mini series is excellent for beginners due to its lightweight design (often under 250g, bypassing some registration laws) and ease of use. For those wanting higher quality, the DJI Air 3 offers a great balance of price, performance, and dual-camera capabilities for versatile framing.
Why do my drone videos look blurry?
Blurry footage is often caused by incorrect shutter speed. Ensure you are following the 180-degree shutter rule (shutter speed = 2x frame rate). Additionally, wind shake can cause micro-jitters. Using ND filters helps maintain proper exposure without raising the shutter speed too high, preserving motion blur.
Can I fly a drone indoors?
Yes, but it’s challenging. GPS signals are weak or nonexistent indoors, so the drone may drift. Use a small, agile drone like the DJI Avata or a custom FPV build. Enable optical flow positioning if available, and ensure there are no obstacles like ceiling fans or hanging lights.
How long do drone batteries last during filming?
Most consumer GPS drones offer 30-45 minutes of flight time under ideal conditions. However, factors like wind, cold temperatures, and aggressive maneuvering reduce this significantly. Plan for about 20-25 minutes of actual usable shooting time per battery. FPV drones typically last only 4-8 minutes.