

You’ve got a tight schedule, a limited budget, and a script that demands three nights of exterior shooting. But you only have one day of daylight left before the location permit expires. What do you do? You cheat. You shoot at noon and make it look like midnight. This is the art of Day-for-Night, a technique where filmmakers capture footage during the day but manipulate exposure, color, and lighting to simulate nighttime conditions.
It’s not just a cheap hack; when done right, it looks better than actual night shoots. Why? Because you control the light. Real night filming is chaotic-streetlights flicker, moonlight varies by phase, and your crew is exhausted. Day-for-night gives you consistency. But if you mess up the white balance or forget to kill the shadows, the audience instantly knows it’s fake. Let’s break down exactly how to pull this off without looking amateurish.
The Physics of Fake Darkness
Before you touch a dial, understand what makes a scene look "night." It isn’t just darkness. Human eyes perceive night through contrast, color temperature, and specific light sources. In reality, night scenes rarely have pure black backgrounds unless there’s zero ambient light. Usually, there’s blue-tinted ambient light from the sky, warm pools from streetlamps, and sharp highlights from car headlights.
Your job as the cinematographer is to replicate these cues. If you just underexpose a bright sunny day, you get muddy gray shadows, not deep blacks. You need to crush the shadows while keeping key highlights intact. This requires a combination of in-camera settings and post-production grading. Think of it as painting with subtraction-you’re removing information to create mood.
| Attribute | Real Night Shoot | Day-for-Night Shoot |
|---|---|---|
| Ambient Light | Low, variable (moon/streetlights) | High, controlled (sun/sky) |
| Color Temperature | Mixed (3200K tungsten + 5600K moon) | Uniformly cool (approx. 4000-5000K after grade) |
| Noise Level | High (due to high ISO) | Very Low (low ISO possible) |
| Crew Fatigue | High (working overnight) | Low (standard hours) |
| Control | Low (weather dependent) | High (predictable sun path) |
Camera Settings That Sell the Illusion
Start with your base exposure. Most digital cameras have a dual-native ISO structure. For day-for-night, you want to stay low. Cranking the ISO introduces noise, which kills the clean, cinematic look of a night scene. Keep your ISO at its native base, usually 800 or 1600 depending on your sensor (like those in ARRI Alexa or Sony Venice cameras).
Next, adjust your aperture. You want deep focus to mimic the human eye’s adaptation to darkness, where everything feels somewhat clear despite low light. However, don’t stop down so far that diffraction ruins sharpness. An f/5.6 to f/8 range is often the sweet spot for outdoor day-for-night shots. It keeps the background legible but distinct.
Shutter speed is your next lever. Stick to the 180-degree shutter rule (double your frame rate). If you’re shooting 24fps, use 1/50s. This maintains natural motion blur. If you speed up the shutter, the movement becomes jittery and unnatural, breaking the immersion immediately.

Lighting: The Art of Subtraction
This is where most beginners fail. They think adding lights makes it look like night. Wrong. Adding lights makes it look like a well-lit set. To simulate night, you must subtract light. Use negative fill-black flags or large solid gels-to block sunlight from hitting your subject’s shadow side. This creates the high-contrast ratio typical of night scenes.
For practical lights (lamps, signs, windows), you need them to be brighter than they would be in real life relative to the ambient light. Since your ambient light is still full daylight, a standard 60-watt bulb will disappear. You need powerful sources. LED panels are great here because you can dim them precisely. Position them to spill out into the frame, creating those classic halos around streetlamps.
Consider using neutral density (ND) filters. A variable ND filter allows you to maintain a wide aperture even in bright sun, letting you isolate your subject against a darker background. Polarizing filters are also crucial-they cut reflections off wet pavement or glass, adding depth and realism to the "night" environment.
Color Grading: Painting the Night
In-camera, set your white balance to something cooler than daylight. Instead of 5600K, try 4000K or even 3500K. This pre-tints the image blue, giving you a head start in post. But don’t go too extreme; you want a believable cool tone, not a radioactive green.
In post-production, this is where the magic happens. Lift the shadows slightly but keep them tight. Pure black pixels lose detail, so aim for dark grays with subtle texture. Then, split-tone your image. Push the shadows toward cyan or teal, and keep the highlights neutral or slightly warm. This mimics the way our eyes perceive artificial light against a cold night sky.
Add grain. Digital sensors are too clean. Night scenes have inherent noise from film stock or high-gain video sensors. Adding a subtle layer of film grain unifies the image and masks any digital artifacts from heavy color manipulation. It sells the authenticity more than any other single effect.
Pitfalls to Avoid
Watch out for the "blue cast" trap. Beginners often slap a blue gel over everything. But real night has mixed colors. Sodium-vapor streetlights are orange-yellow. Fluorescent shop lights are green. Your grade should reflect this variety. Don’t flatten the world into one shade of blue.
Another common mistake is ignoring the horizon. At night, the sky is usually black or very dark blue. During the day, it’s bright blue or white. You must darken the sky significantly. If you can’t achieve this with exposure alone, mask the sky in post and drop its luminance. Failing to darken the sky is the number one giveaway of a failed day-for-night shot.
Finally, check your actors’ skin tones. Under harsh midday sun, skin can look flat and oily. Use diffusion to soften the key light on faces, but keep the falloff steep. You want the face lit enough to read emotions, but surrounded by darkness to suggest isolation.
Case Study: Practical Application
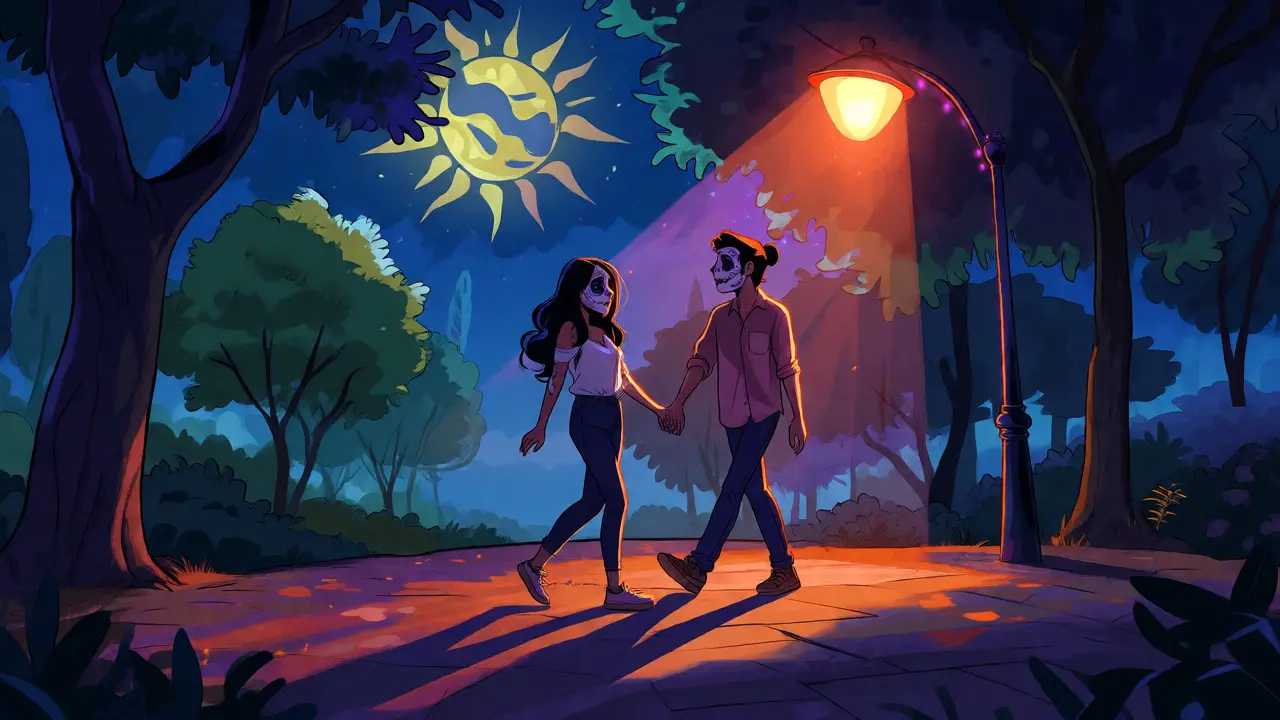
Imagine shooting a romantic walk in a park. You shoot at 2 PM. You place a large silk overhead to diffuse the sun, turning hard shadows into soft ones. You add a small LED panel inside a nearby bench lamp to create a motivated light source. You underexpose the shot by two stops. In post, you crush the greens in the grass to near-black, desaturate the foliage, and push the overall tint toward indigo. The result? A moody, intimate evening stroll that cost half the money and time of a real night shoot.
Does day-for-night work with all cameras?
Yes, but dynamic range matters. Cameras with higher dynamic range (like ARRI Alexa or Blackmagic Pocket Cinema Camera 6K Pro) handle the transition from bright highlights to crushed shadows better. Lower-end cameras may band or lose detail in the shadows when heavily graded.
How much does weather affect day-for-night shooting?
Weather is critical. Overcast days are actually ideal for day-for-night because the light is diffuse and consistent. Direct midday sun creates harsh shadows that require extensive flagging. Rainy days can also work well, as wet surfaces reflect light similarly to night environments.
Can I fix bad day-for-night footage in post?
You can improve it, but you can’t save it completely. If the original exposure was too bright and shadows are blown out, no amount of grading will bring back true black. Always protect your highlights and ensure you have enough data in the shadows to manipulate later.
What is the best time of day to shoot day-for-night?
Midday (11 AM to 2 PM) is often best because the sun is high, allowing you to use flags to create artificial shadows easily. Early morning or late afternoon light is too directional and golden, requiring heavier color correction to remove the warmth.
Do I need special lenses for day-for-night?
No, but fast primes (f/1.4 or f/1.8) help if you want shallow depth of field to separate subjects from busy backgrounds. However, stopping down to f/5.6 or f/8 is often preferred for realism, so lens speed is less critical than lens quality regarding flare resistance.